To start off I'd like to begin showing the 3D scans I've done so far. Since a couple of my projects were related to creating 3D environments in Blender I've collected quite a lot of scans over the weeks. Moreover, not only FabLab got a new fancy 3D scanner to play with, but I was also fortunate to have a phone which came with a Lidar.
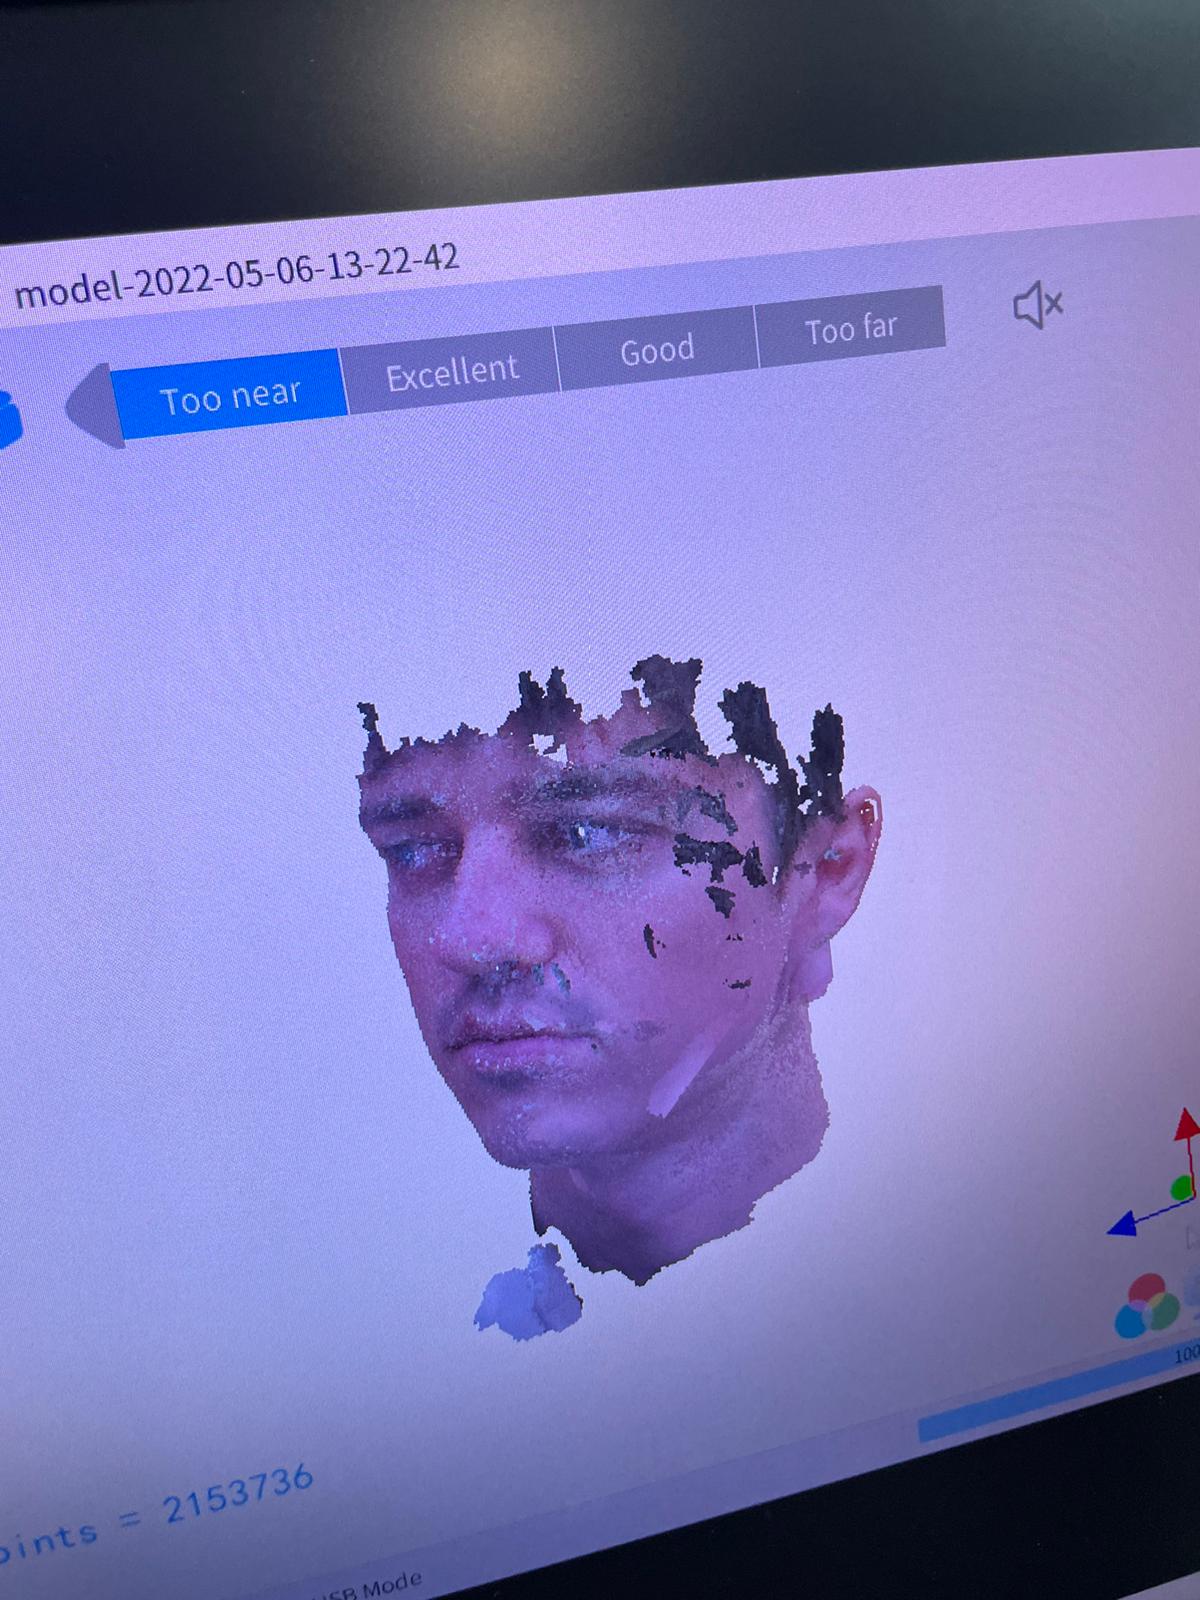
Starting off with the fancy scanner at Fablab. The scanner was quite a high quality and could produce very detailed meshes as well as dense point clouds. Instead of doing the typical small object scanning, we tried to do it on a person - me in this case.
The process was very meticulous and lasted for about 30-40 minutes. A highly important factor was not to move whatsoever for around 15 minutes, that's how slow you had to be to produce a decent result, and it wasn't even a full body (see on the pic below). Another factor was that you had to be very close to the project, within half a meter at all times - which basically means that any large scene scanning isn't an option. Finally, after importing the file in Blender, I couldn't reveal the colours and only got the mesh figure for some reason.
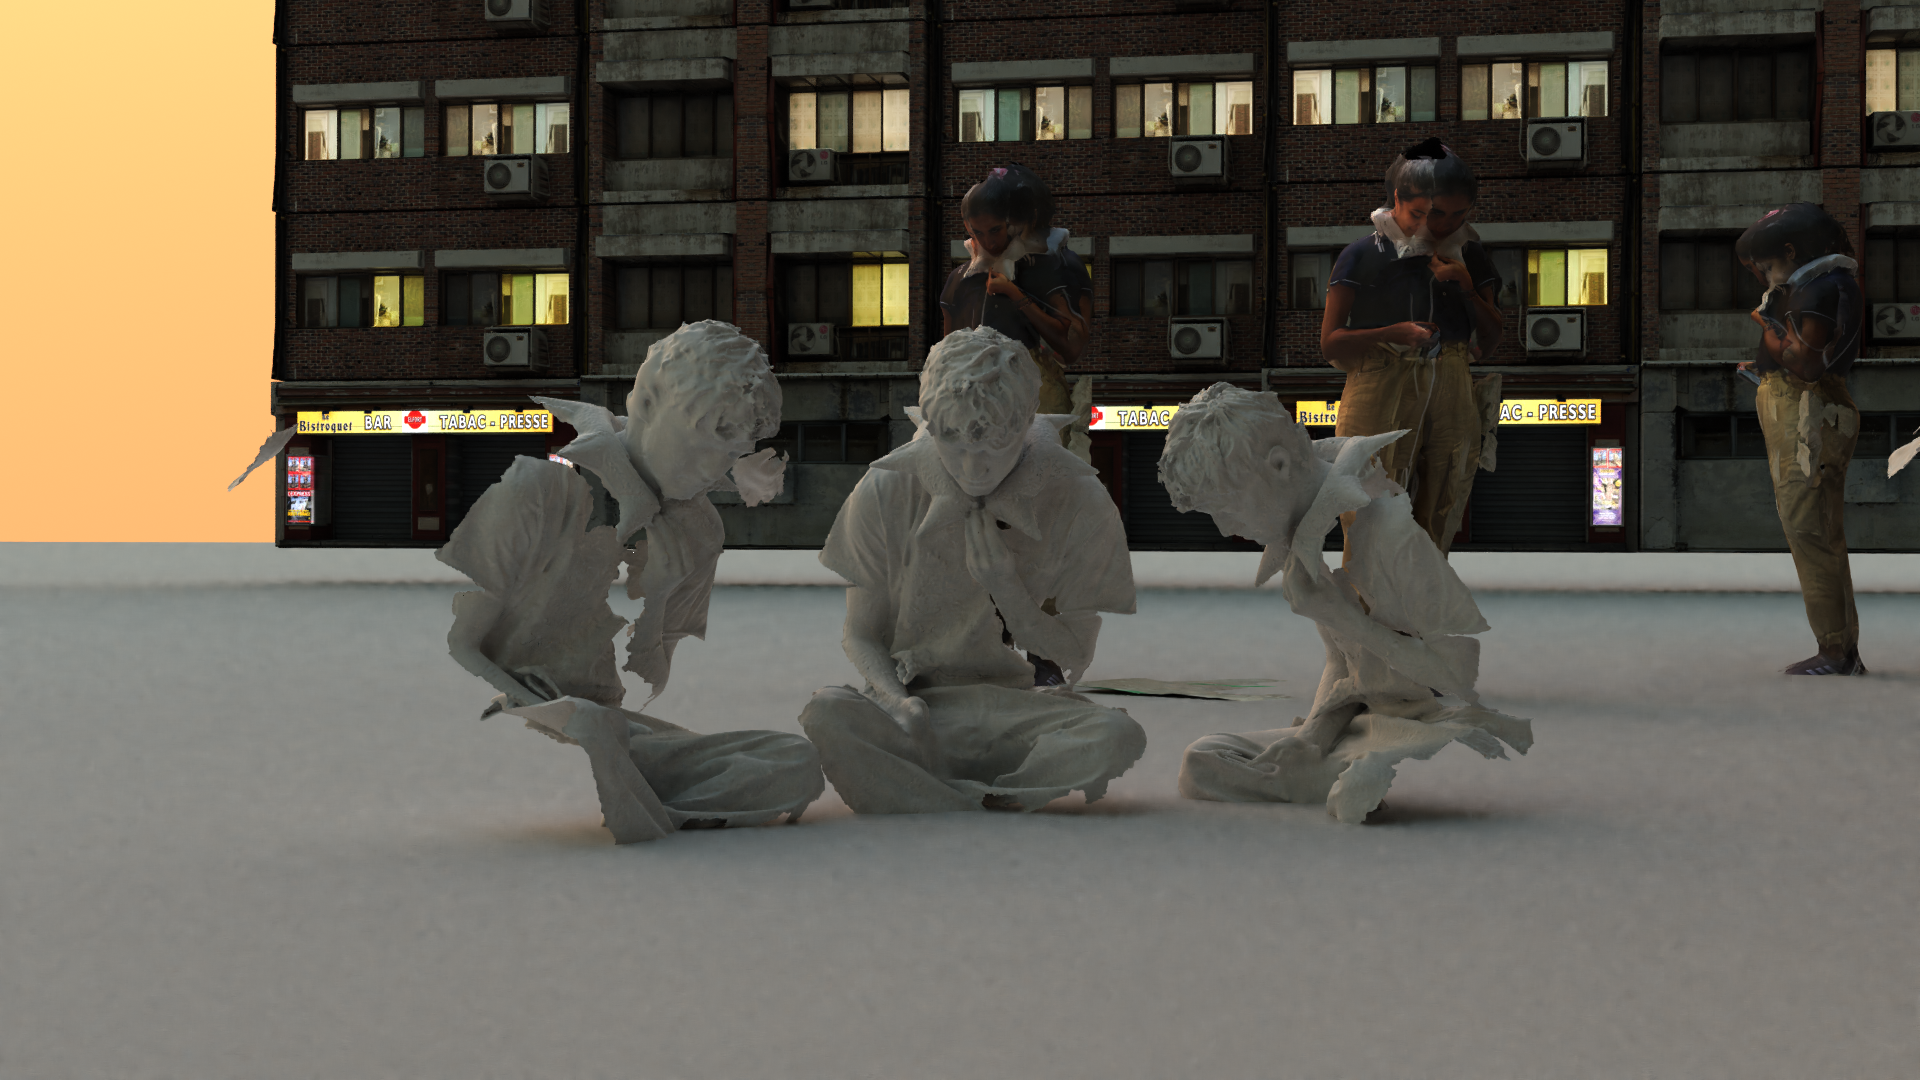
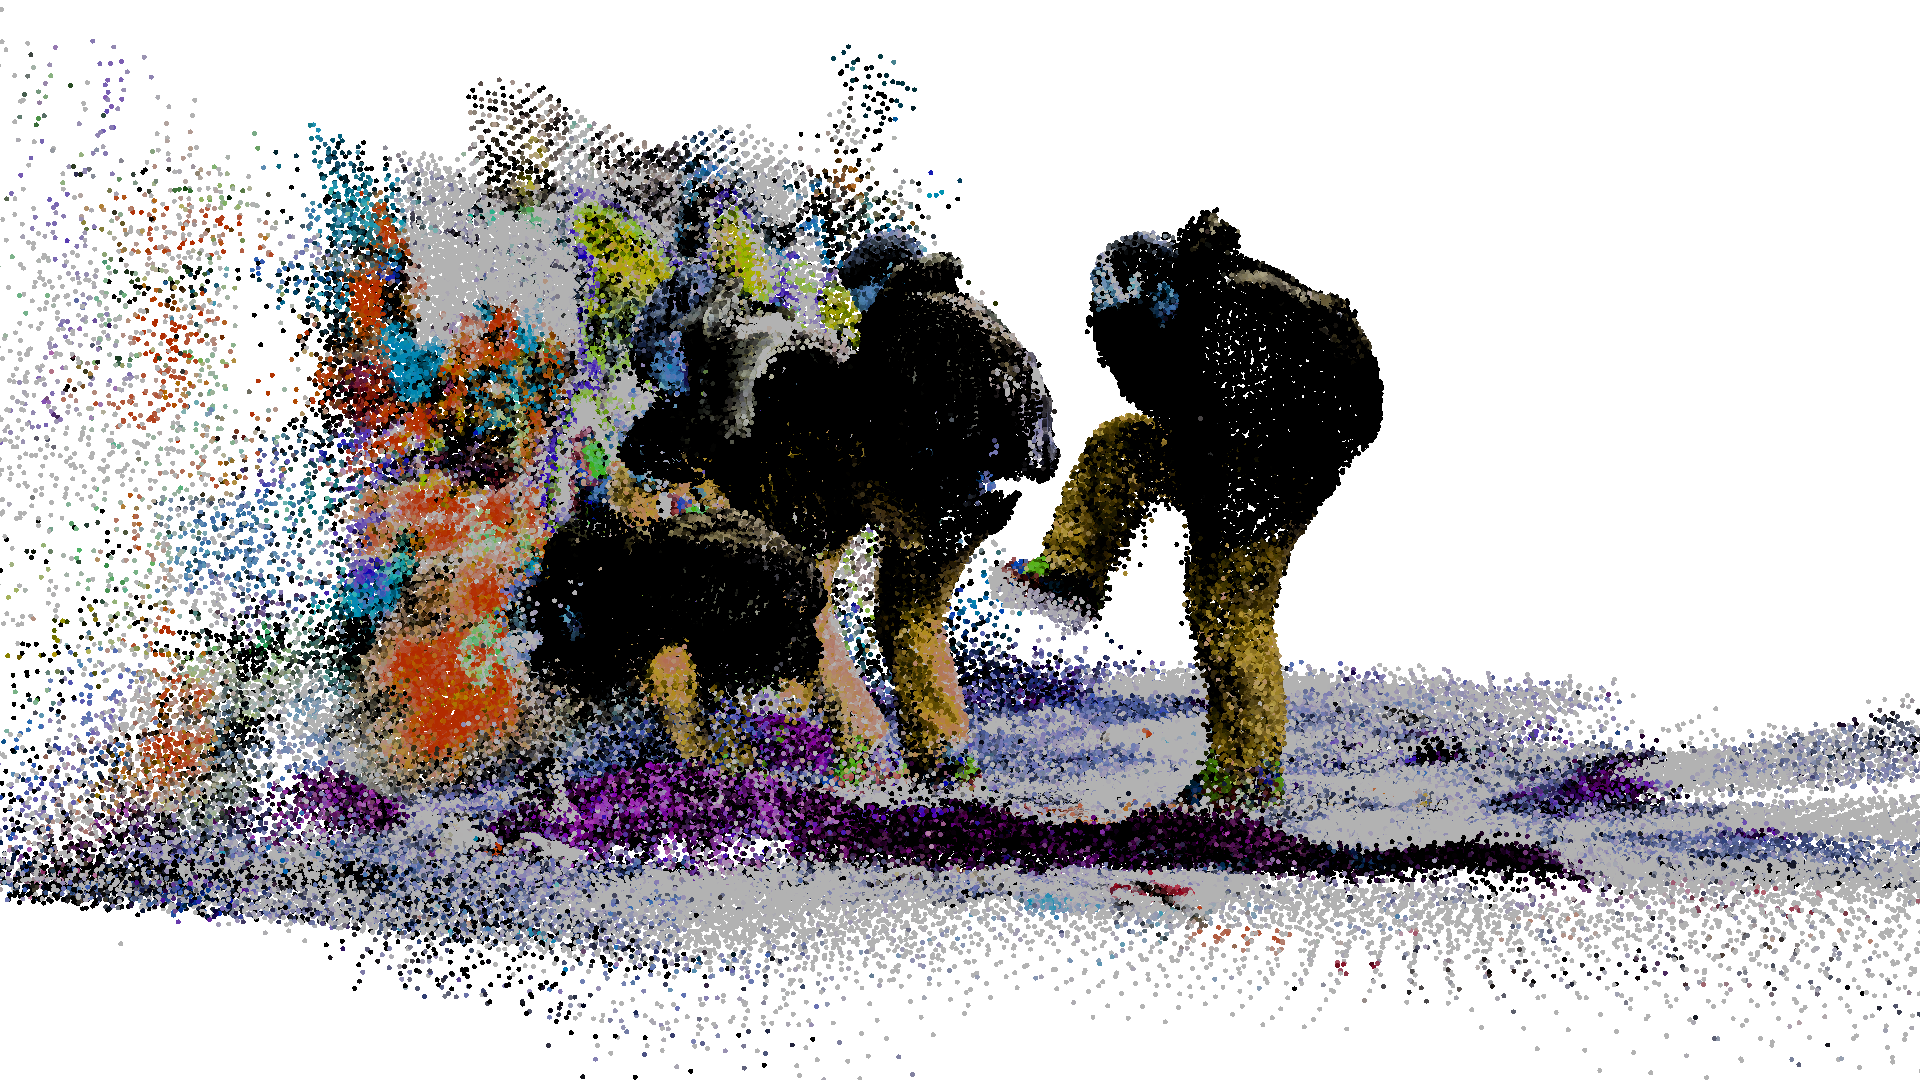
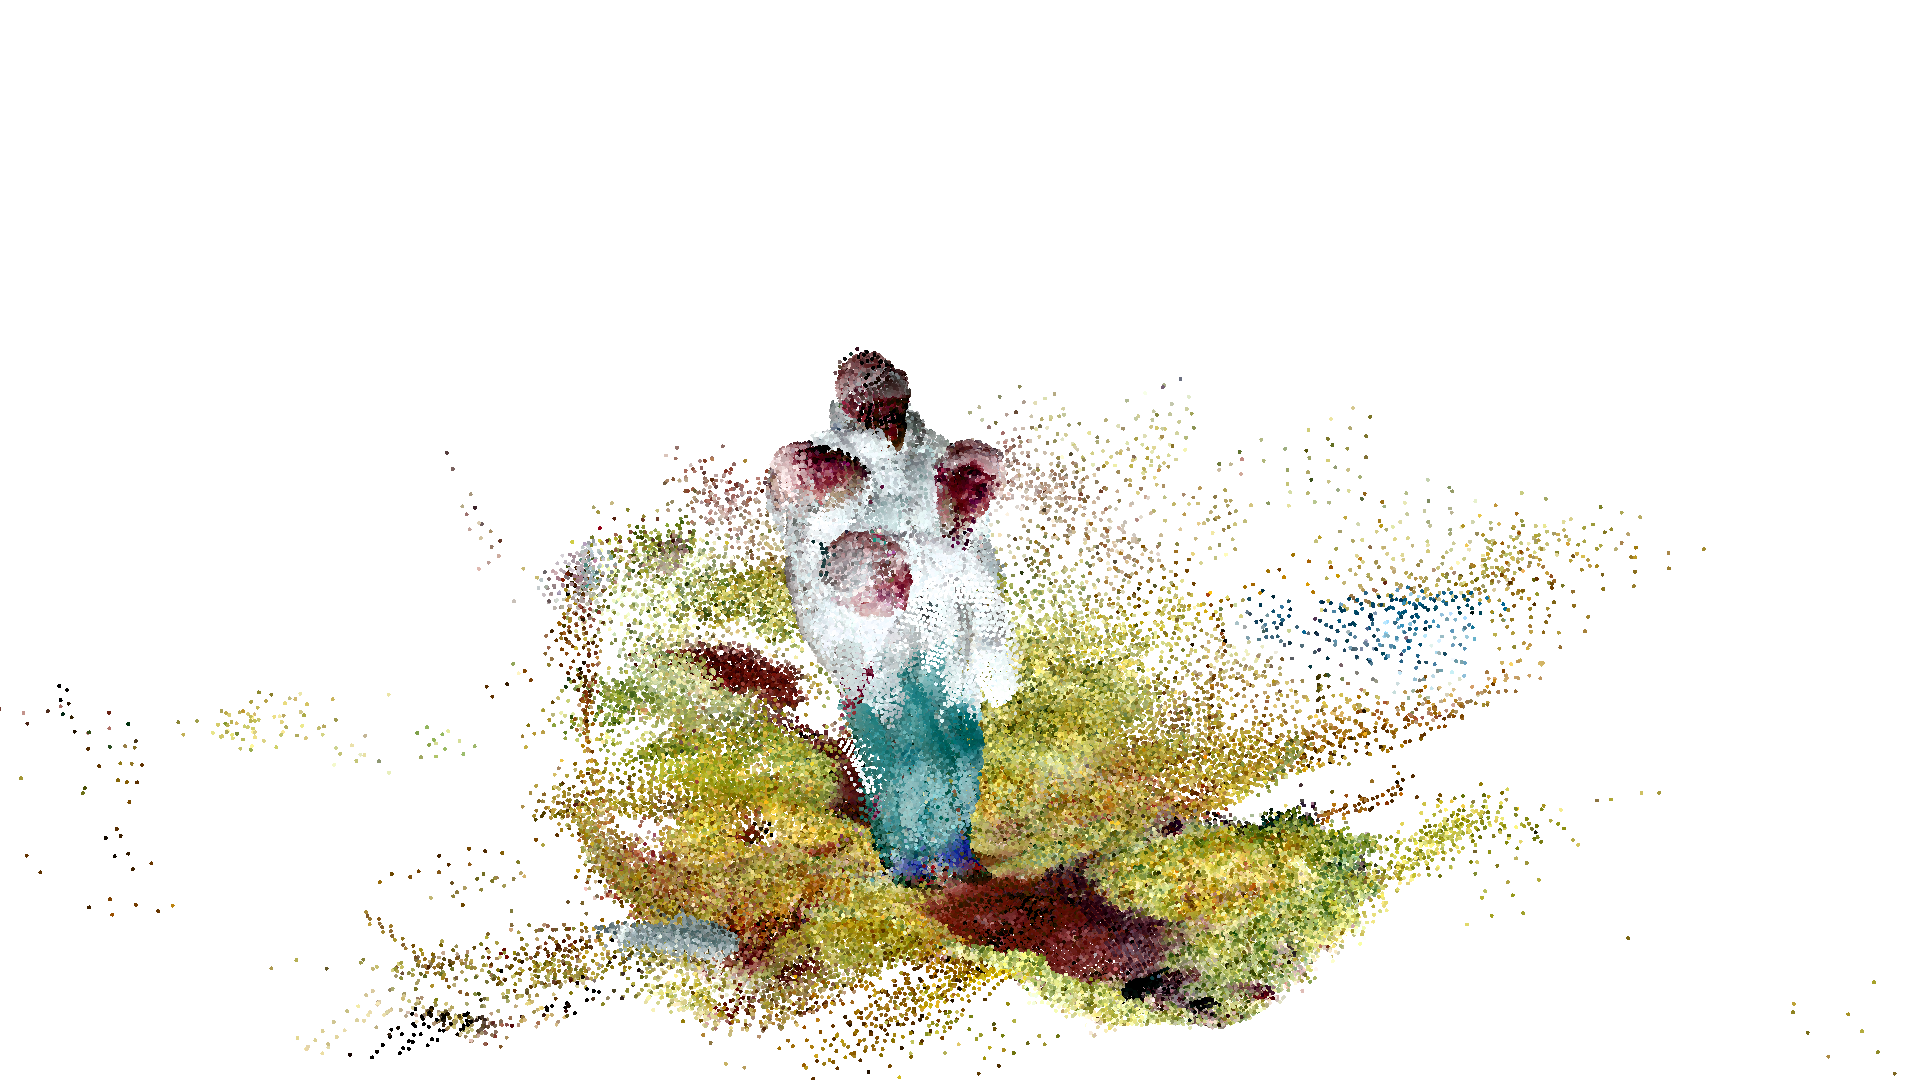
Another project I did relied heavily on the point clouds. I was lucky in this case and just had to download a "3D scanner app" on my iphone which worked very nicely and ended up being a very versatile tool for large scale scanning, as well as capturing movement without the need for editing later on.
All the scans you see before were taken straight away on the app, since the same person could move to different locations on the same scan. Also the scanning, compared to the fancy fablab scanner was extremely fun and fast to do. All the scans took less than 1 min and you could iterate a lot and try different compositions. The biggest problem was that anything on the scale of a face and smaller couldn't be captured with the current resolution.

x